
Hand Mending Kit Resource
Included
Sashiko needle
Needle threader
Sashiko thread
6 pins
4 clips
1 chalk pencil
1 quilt scrap
Instructions
Not Provided
Scissors
Iron (optional)
Measuring tape (optional)
Thimble (optional)
Step 1: Prep the Area
· Iron your item where you’d like to repair it or add a little pizazz.
· Hold your item up to the light and look for areas where light shines through. These are your weak spots.
· Place your item on a flat surface.
· Compare your quilt scrap to the damaged area. Trim the scrap so it extends ¾–1 inch beyond the weak area on all sides.
· Trim away long, fuzzy, or loose threads from the hole, or leave them if you like that look!
Step 2: Position the Patch
Choose whether you want your patch on top or underneath your item.
On top: Shows off the cool quilt pattern. You can even add double knees, double elbows, or patches in different spots on the same garment just for fun!
Underneath: Lets the quilt pattern peek through the hole. This is especially fun for larger holes!
Step 3: Pin It in Place and Mark your design
· Place a pin through each corner of your patch and the item attaching your patch to it then back up through the item so the head and tip of the pin are visible on the top of the fabric.
· Make sure everything stays flat and smooth.
· Use the chalk pencil to mark a pattern or design before starting stitching, or you can wing it.
Tip: Use the clips instead of pins when working near an edge.
Step 4: Stitch It Down
· Unwind and cut about 20 inches of thread, or measure with your heart or forearm if you don’t have a measuring tape!
· Thread your needle using the needle threader:
Insert the metal end through the eye of the needle.
Place the thread through the metal loop.
Gently pull the threader back through the needle eye, bringing the thread with it.
Leave a few inches of thread as a tail.
· Tie a secure knot at the end of the thread opposite the needle.
· Start from the back side of the fabric so your knot stays hidden.
· Push your needle up through the fabric, then make a small stitch and bring the needle back down.
· Repeat this motion to create small, straight running stitches.
Note: You can “stack” multiple stitches on your needle at once to be more efficient. (Don’t do more than 4 stitches or it will be hard to push through.)
· Stitch all the way around the outer edge of your patch.
· Add extra lines of stitching across the patch to create your own visible design.
Keep your stitches short, only a few millimeters long on the front and back, to help prevent the thread from catching and breaking.
Step 5: Finish the Knot
· When you finish a line of stitching or run out of thread, bring your needle to the back side one last time.
· Slide your needle underneath your last stitch to create a small loop.
· Pull your thread through the loop to make a secure knot.
· Snip off the extra thread with your scissors.
Make It Yours!
There’s no perfect way to mend.
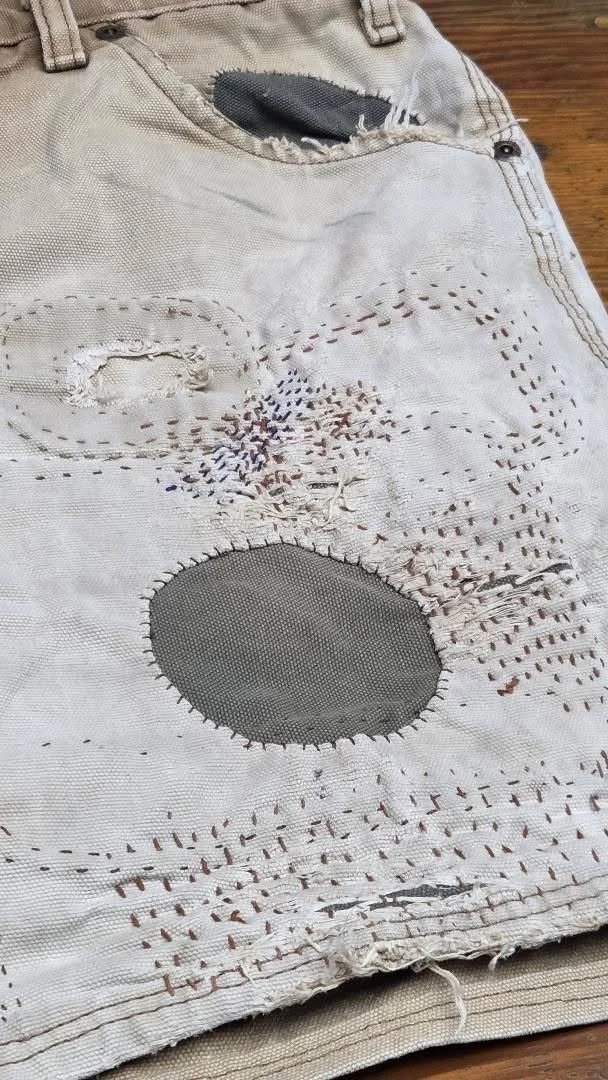
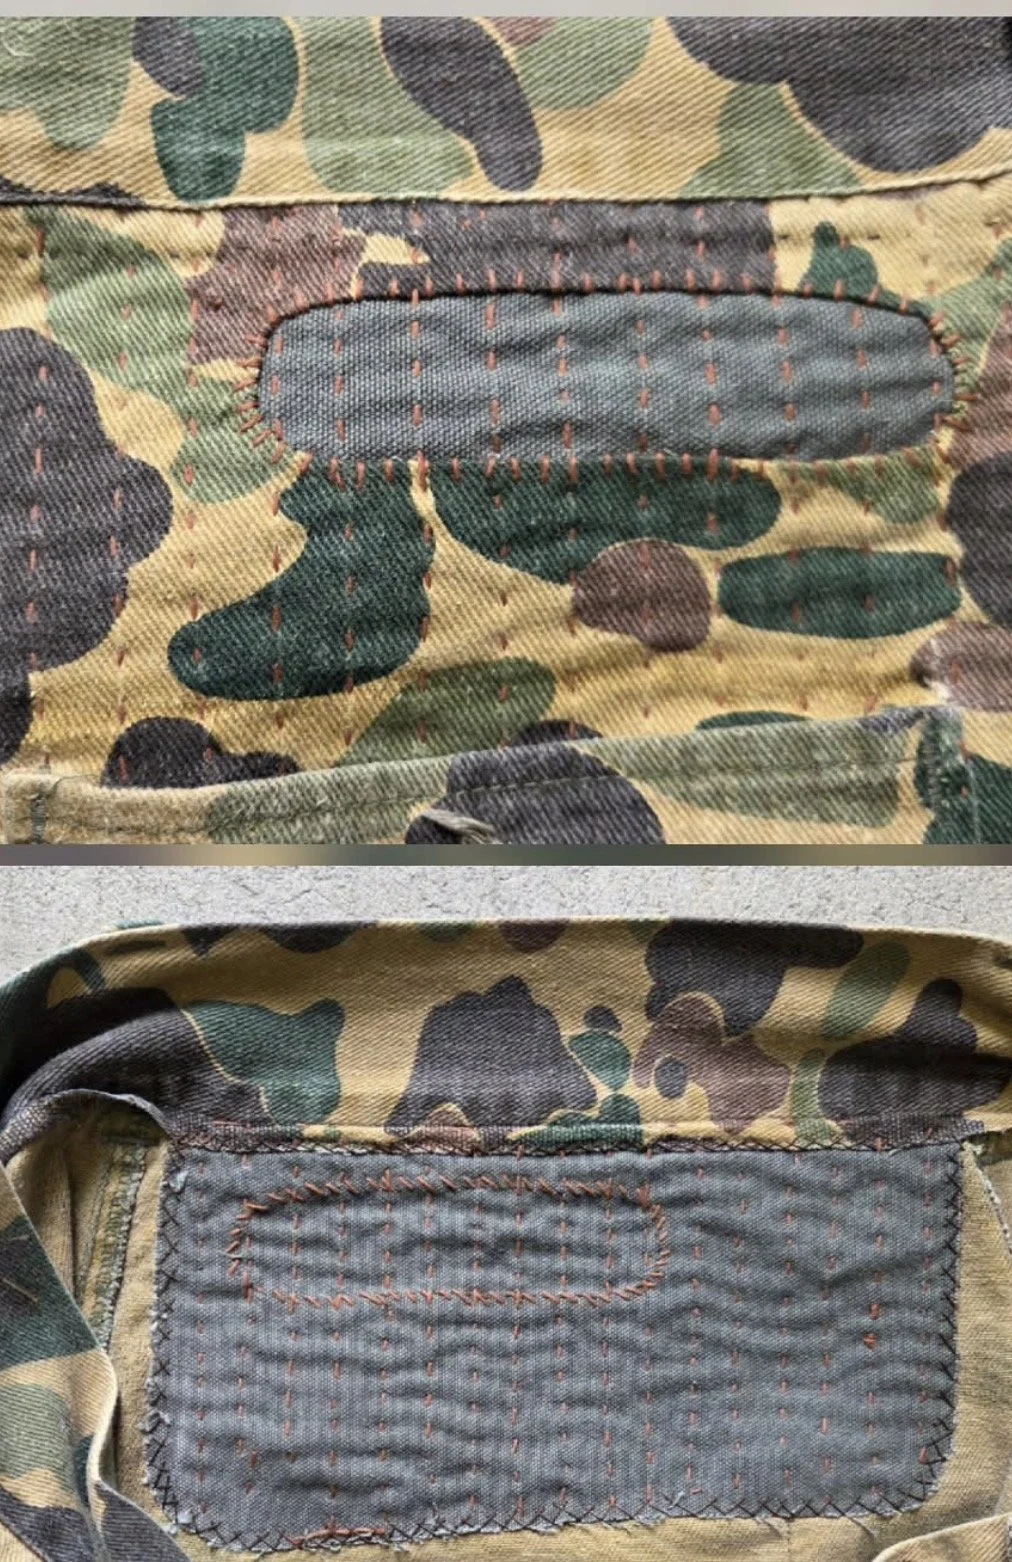
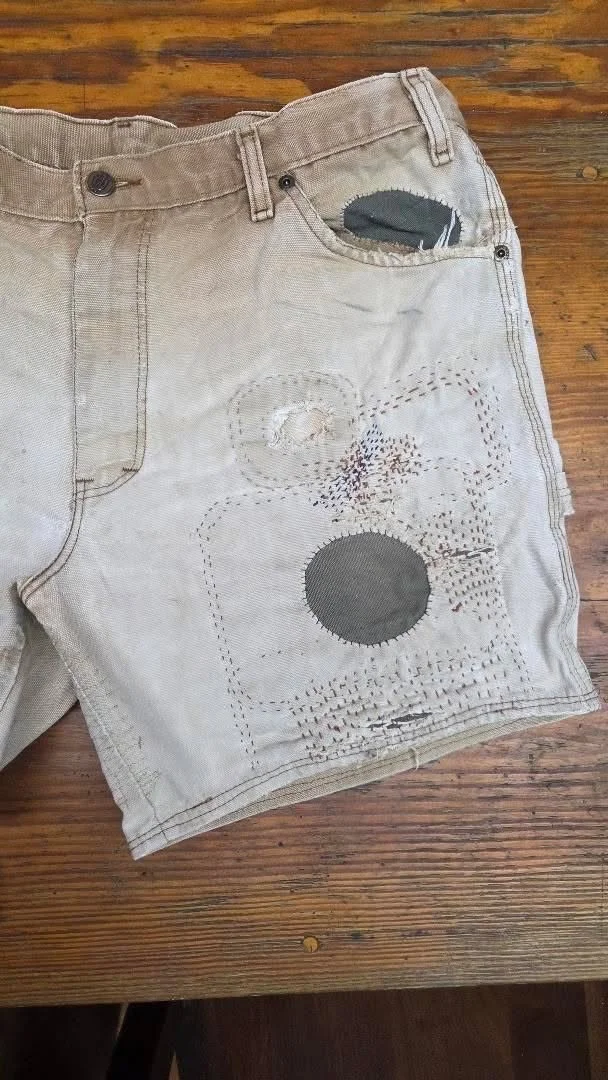
Pictured Hand Embroidery by David insta @pannerpete or @blockheadmakes who hosts a monthly mending meetup and routine mending workshops in Columbia, SC.
